• 2 Posts
  • 22 Comments
Joined 2 years ago
cake
Cake day: July 14th, 2023

help-circle


  • Yeah I’ve never actually tried non-sculpted caps on a keywell so I’m really just guessing on the difference. I started with sculpted caps on my moonlander and never really touched non sculpted caps since.

    The switches as U4 silent tactiles, not the U4t. I’m getting more used to them after a couple days of typing but they still feel a bit scratchy and abrupt. Also some of the keys have a bit of ping to them. Some of this might be due to my swapping the springs with 45g ones. More than the feel though, which again I’m growing more used to (and maybe is improving as they break in), they aren’t all that silent. The silent squids which I had on here before by comparison where dead quiet; they just felt a tad mushy. I think I’d rather have true silence with a little bit of mush or just go with non-silent tactiles (like T1 Sunflower’s on previous build) with superior tactile feel.


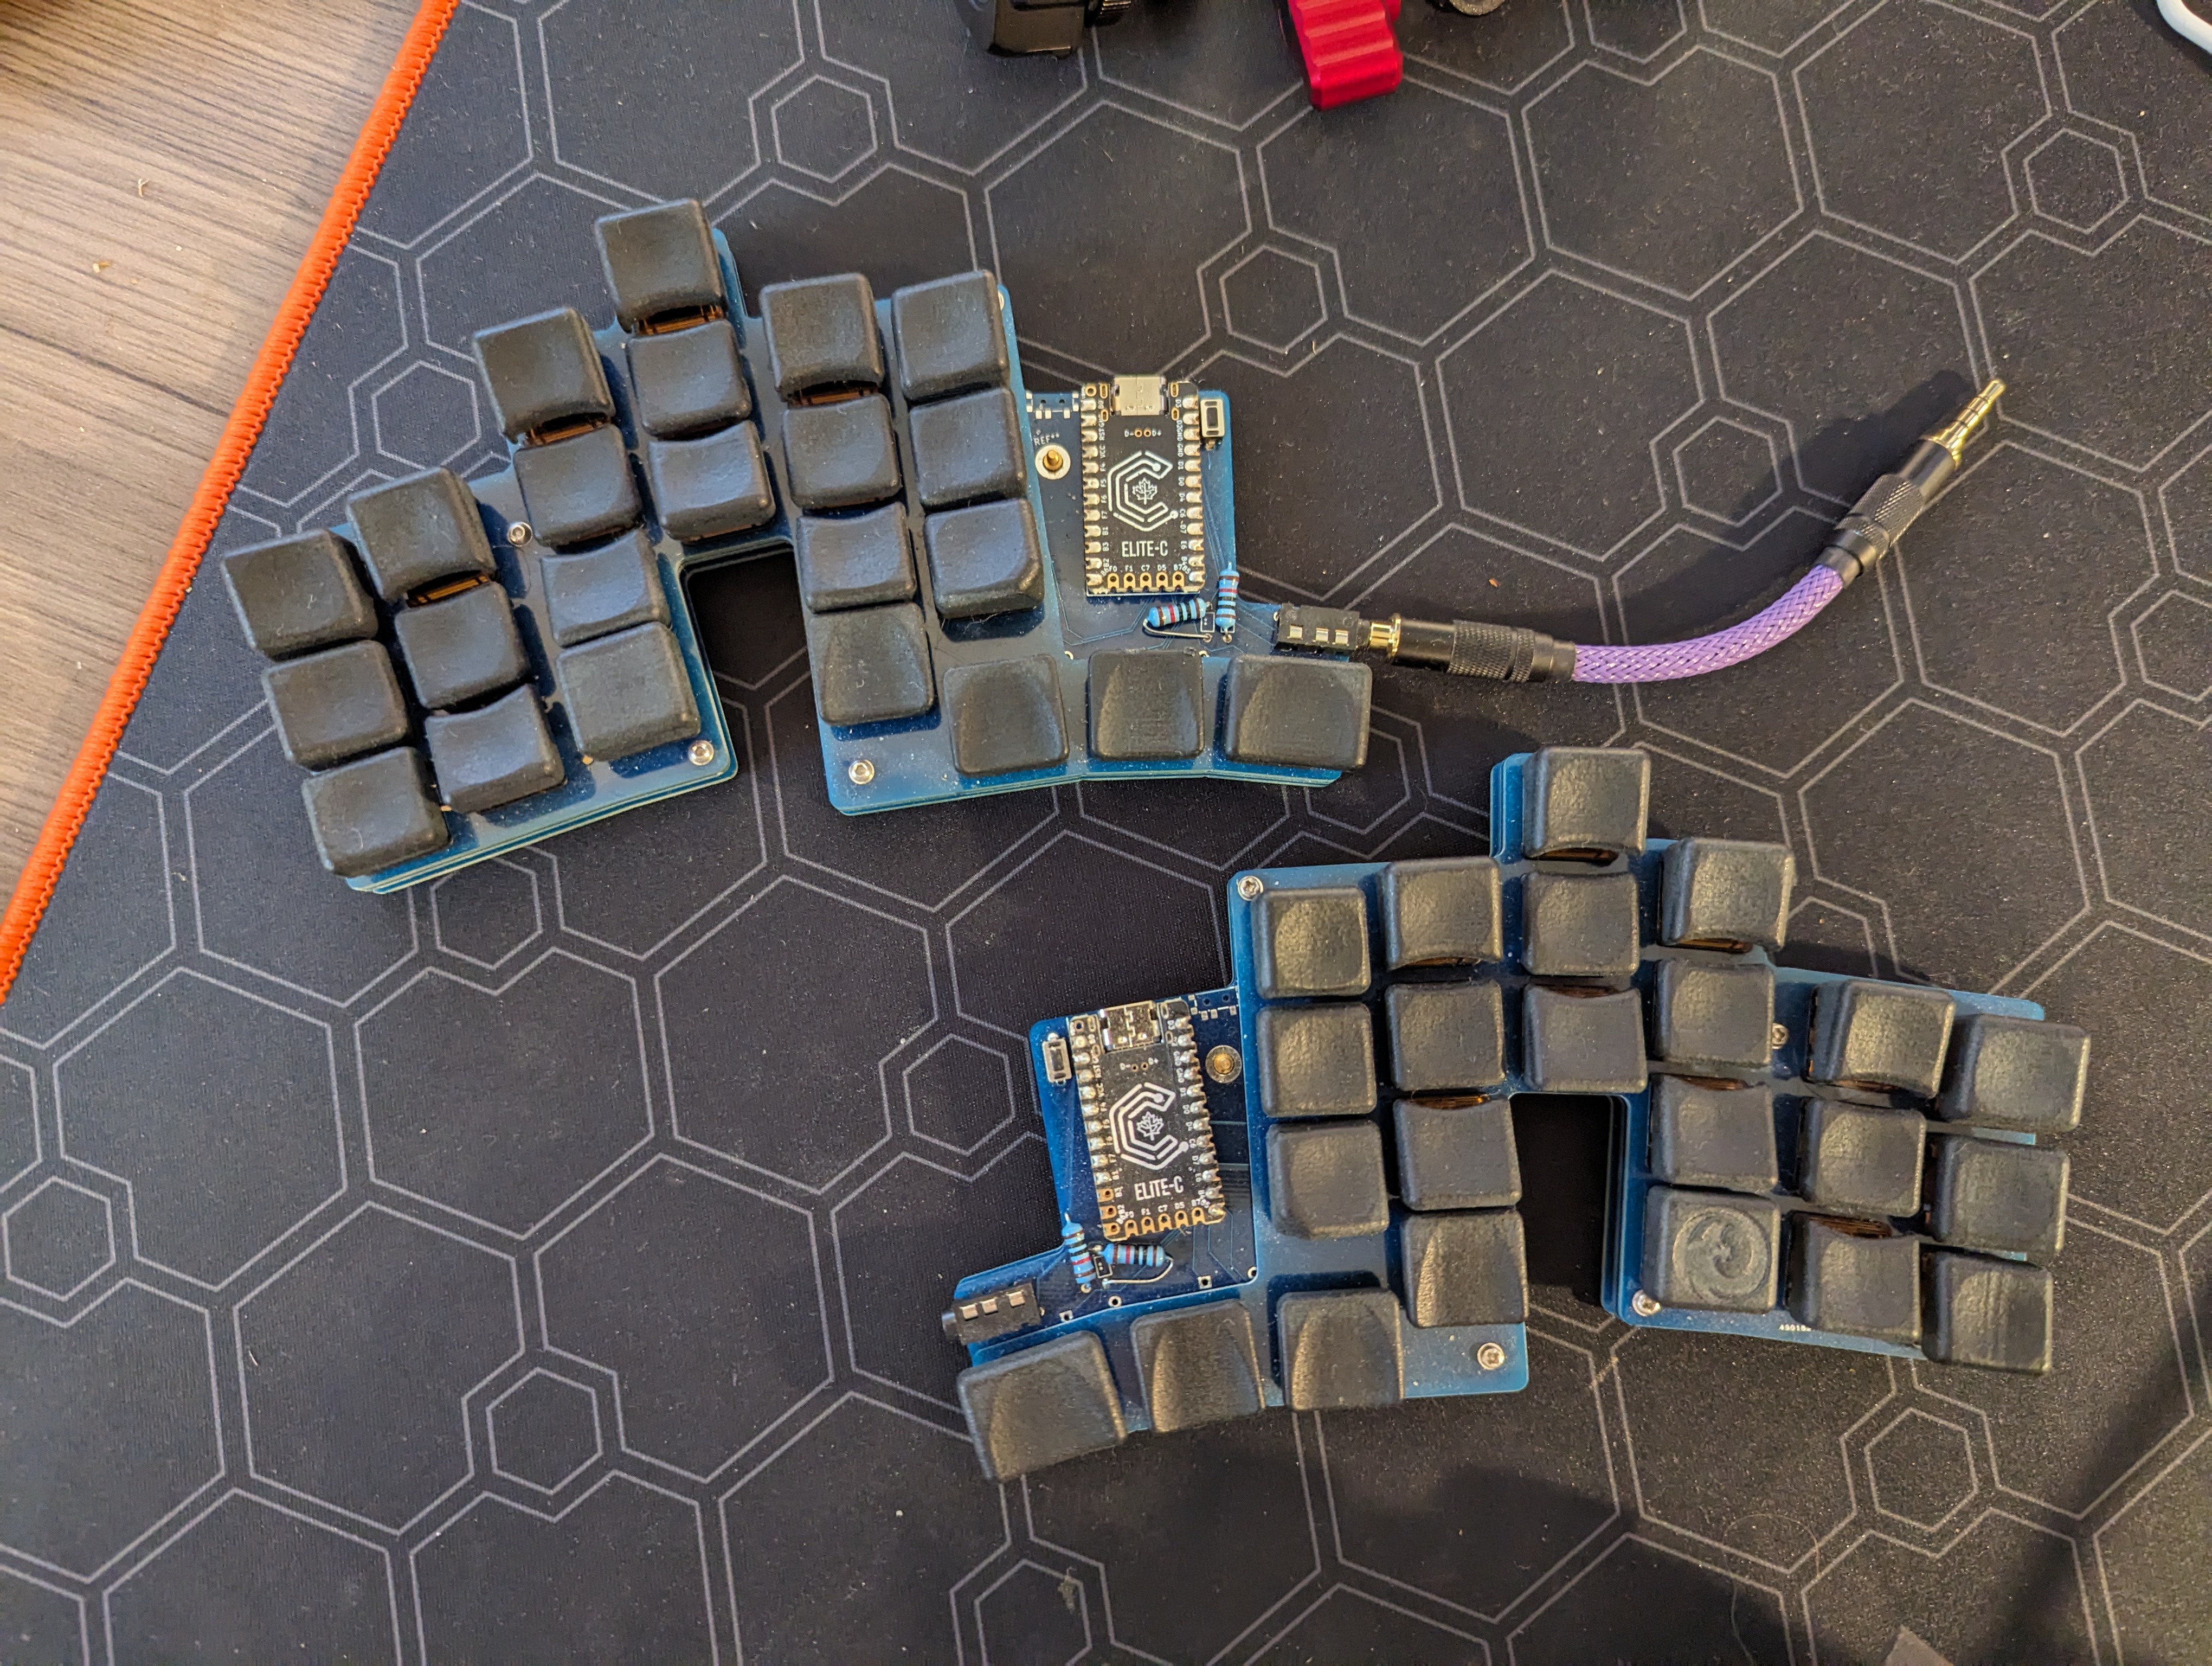
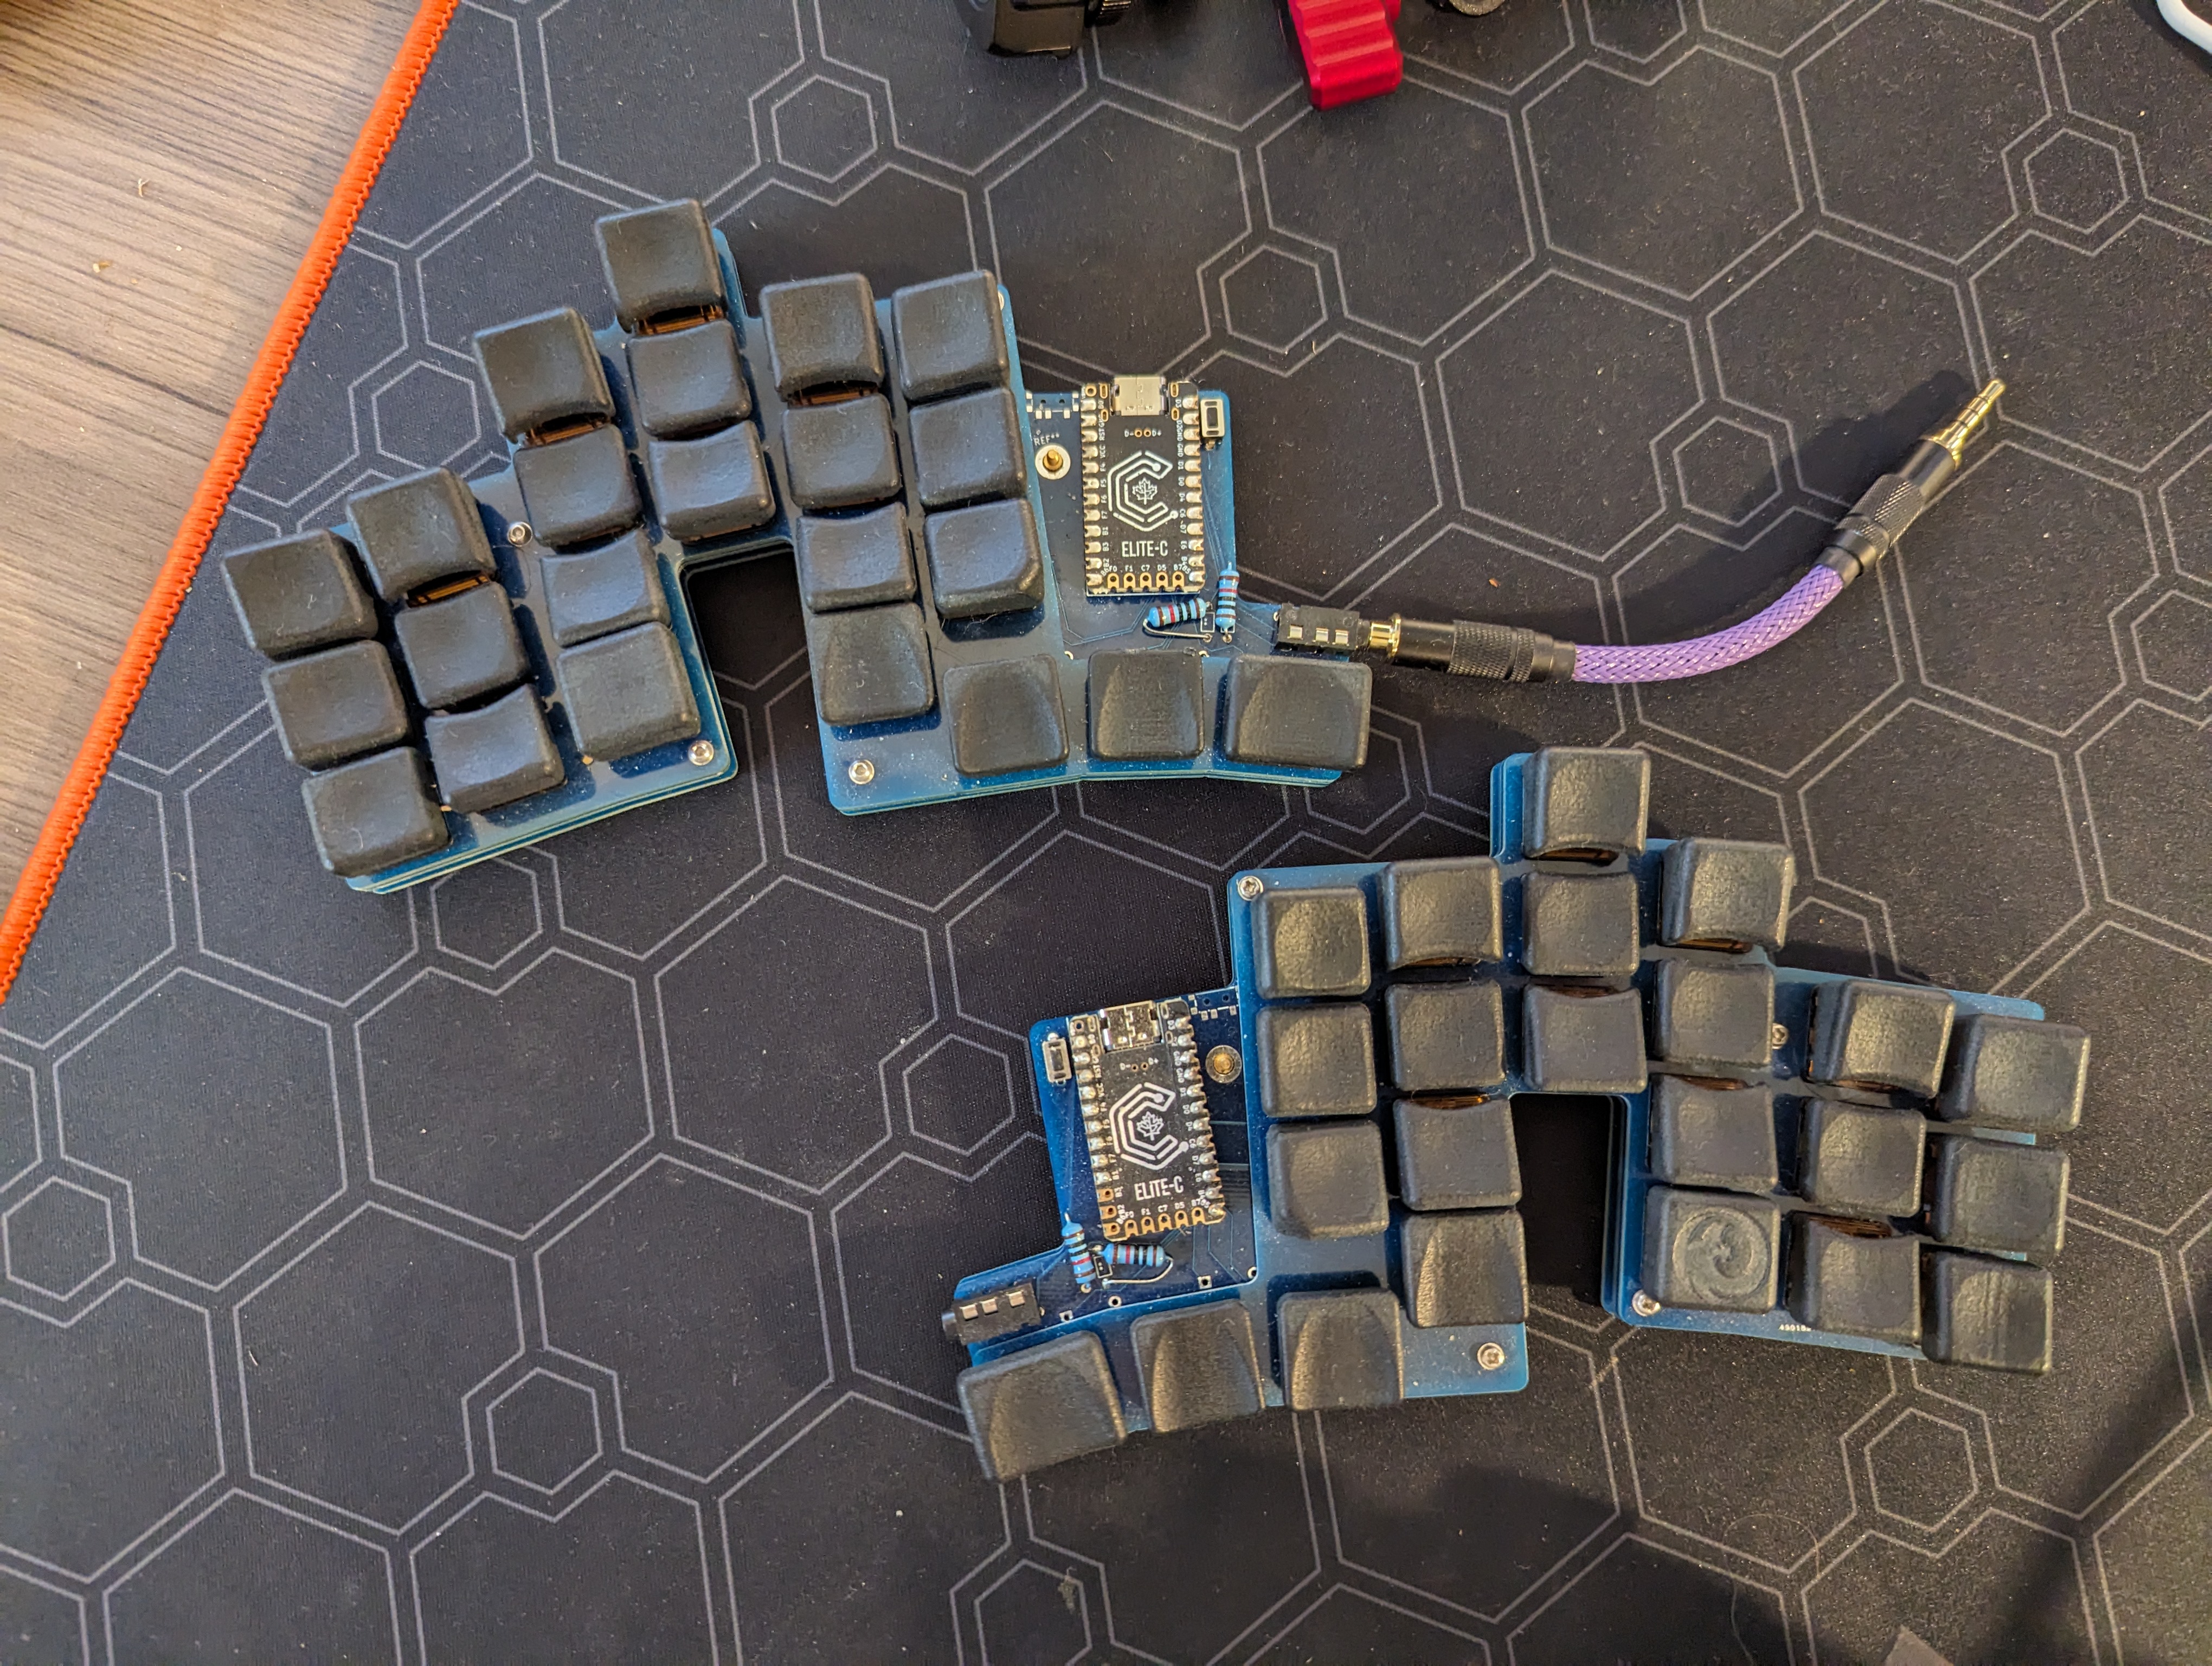
  • Keywell keyboards will give you less, and more natural finger travel compared to a flat board. Though with only 3 rows the difference isn’t really all that much compared to a flat board with good sculpted keys. It’s a much bigger deal once you go larger than 3 rows.

    For me the major motivation to try out this style of board was the curved thumb cluster. At least in my opinion most thumb clusters you see are pretty terrible from an ergonomics perspective. Even when you get one that doesn’t encourage curling your thumb under your fingers a flat arc doesn’t really correspond with the thumbs most natural movement. I find curved arc of this thumb cluster more natural and allows for more keys to be comfortably arranged than would otherwise be possible.


  • Hasn’t really come up yet, I’m wfh, but yeah I would want to take this with me if I could. Actually bought a hardcase to stick this in should I need to travel with it.

    Going back to something flat would be a bit of an exercise. Sculpted alphas would go a long way even on a flat board but the biggest difference would be in the thumb cluster comfort.


  • Yes I will share on this sub. Since you are interested though you are welcome take a look at my github early. Added a 3x5 version of the case there as well (not tested printing).

    Hand-wiring shouldn’t be much more difficult than my first build with per key pcbs. It is pretty thin though and assembly will be a bit tricky regardless of how it’s wired. For printing I’ve only tried with MJF and SLS and I didn’t really take into consideration any limitations of Resin or FDM printing. I don’t think there is anything that would make printing any of the parts with those techniques (though maybe some parts are a little thin for FDM) so keep that in mind.


  • I’ll be posting with more details on the board once I’ve consider it finished but happy to share here as well.

    As far as modifications I made:

    • adjusted stagger of each column
    • adjusted splay on the pinky columns
    • used flexible pcbs (from the BigSkree)
    • made the switch plate one piece per side (orig was individual columns)
    • added side walls to the switch plate
    • added additional support to the thumb cluster so it has less wobble
    • one piece, 6 key thumb cluster
    • support for both choc and mx switches on thumb cluster
    • added ARRI locating holes to the 1/4" mounting point

    Lot of my modifications make the board less configurable but provide an easier and sturdier build. Making this a 5 column build would not be difficult. The original is 5 columns by default and 6 with an extension plate. Modified version is all one piece but modifying the CAD to chop off a column would be no problem.

    Currently the thumb cluster has a mix of DES profile caps on MX switches and CS profile caps on choc switches.

    Aside from the 3D printed parts build just uses some heat press inserts and screws.

    I’ll be happy to share the modified files once I’ve got everything finalized and organized, hopefully that will be later this week.


  • Yeah personally I was never able to fully get used to home row mods. Even after a fair bit of tuning I found that invariably home row mods would start to get in the way of typing speed around the ~60wpm mark. People are always so quick to recommend home row mods as the ultimate solution to finger movement that I tried to stick with it for a fair while but finally switched to dedicated keys for mods and couldn’t be happier (plus I finally smashed the 60wpm barrier).

    Personally I have shift on both thumb clusters and alt-cmd-ctrl on the left most column of my left split (3x6 layout), the keys that used to be there were moved to combos to make space (ESC is two left most keys middle row, TAB is two left most keys of top row). I’ve got some of the mods duplicated elsewhere on other layers as well just depending on the use case. Also not using home row mods means you can (probably) use auto shift as well which can potentially eliminate the need for a fully dedicated shift key.


  • All the 3D printed parts were a just under 95usd. This total could have been lower but due to the modular nature of the keyboard there are a number of small parts that are at or below the minimum volume and thus the cost for printing them ended up getting rounded up to $1 min part cost which added up. I’m working on consolidating some of the parts into larger pieces to limit this and reduce the total parts count for my next build. The down side is of course less modularity but I’ve already got a good idea of what I want so that is no big deal.